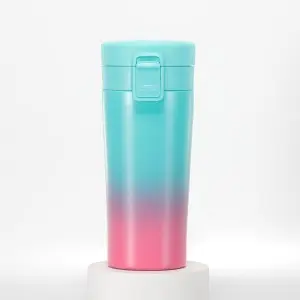
In today’s fast-paced world, travel mugs have become a must-have accessory for anyone on the go. But why settle for a plain, generic travel mug when you can create a personalized travel mug that perfectly reflects your style and personality? In this blog post, we’ll show you how to create a personalized travel mug that not only keeps your drink hot or cold, but also makes a statement wherever you go. Get ready to unleash your creativity!
1. Choose the perfect travel mug:
Before you start personalizing your travel mug, it’s important to choose a mug that suits your needs. Look for mugs made of durable materials like stainless steel or BPA-free plastic. Make sure it has a secure lid to prevent spills during travel. Remember, a well-chosen mug is your canvas for creative expression.
2. Collect materials:
To craft your unique travel mug, gather the following materials:
- regular travel mug
- Acrylic paint or permanent marker
- Painter’s tape or stencil
- Clear sealer spray
- Brushes (if using paint)
- Optional: decorative stickers or decals
3. Plan your design:
Before you start painting, take some time to plan your design. Consider the theme, color scheme, and any personal touches you want to add. Draw it on paper or imagine it in your head. Planning ahead will help you create a cohesive and professional-looking design.
4. Become cunning:
Now is the time to bring your designs to life on a travel mug. If you’re using paint, start by covering the areas you want to keep flat with painters tape or stencils. This will give you clean lines and protect the areas you don’t want to paint. If markers are your thing, you can start right off the bat with mugs.
Carefully paint the paint or marker of your choice onto the mug following your design. Take your time and layer in thin, even layers. If using multiple colors, let each coat dry before moving on to the next. Remember, mistakes happen, but with a little patience and a cotton swab dipped in rubbing alcohol, they can always be fixed.
5. Add the finishing touches:
Once you’re happy with the design, let the paint or marker dry completely. This may take several hours or overnight, depending on the directions for the product you are using. Then, apply a clear sealer spray to protect your artwork from scratches or fading. Follow manufacturer’s directions for best results.
6. Optional decoration:
For an extra touch of personalization, consider adding decorative stickers or decals to your travel mug. You can find a variety of options online or at craft stores. These can be used to add initials, quotes, or even images that resonate with you.
By following these simple steps, you can create a personalized travel mug that’s not only functional, but also makes a statement. Whether you choose to paint, paint, or apply decals, your creativity can run wild. With your unique travel mug in hand, you’ll be ready to embark on new adventures while sipping your favorite beverage in style. Happy crafting and safe travels!
Post time: Aug-23-2023
